

What can you do with dedicated IPs?
Build your own sending reputation
By default, Sendify sends email through shared IPs. With a dedicated IP, you can build and maintain your own IP reputation through consistent, high-quality sending. A dedicated IP gives you more control over your IP reputation. Inbox placement also depends on your domain reputation, email authentication, contact quality, content, and recipient feedback. Purchasing a dedicated IP does not guarantee inbox placement.Manage sending through IP pools
Add your dedicated IPs to an IP pool, then associate the relevant sender addresses with that pool. Email from those addresses will prioritize the dedicated IPs in the pool.Gradually increase sending capacity
A new IP needs to warm up. Increasing sending volume gradually helps receiving mailbox providers learn your sending behavior. Check your warm-up settings in the console and allow time for warm-up before sending at scale. With automatic warm-up enabled, the system allocates traffic according to the warm-up threshold. Traffic above that threshold can be sent through shared IPs. It is normal for some email to use shared IPs during warm-up.Is a dedicated IP right for your team?
Consider your sending frequency, contact quality, and ability to manage email performance—not just the size of a single campaign.
These are buying recommendations, not Sendify purchase requirements. Consistent, predictable sending helps maintain dedicated IP reputation.
How to purchase and get started
-
Open the dedicated IP page. Sign in to Sendify, then open your account avatar → Settings → Sending Settings → Dedicated IPs.
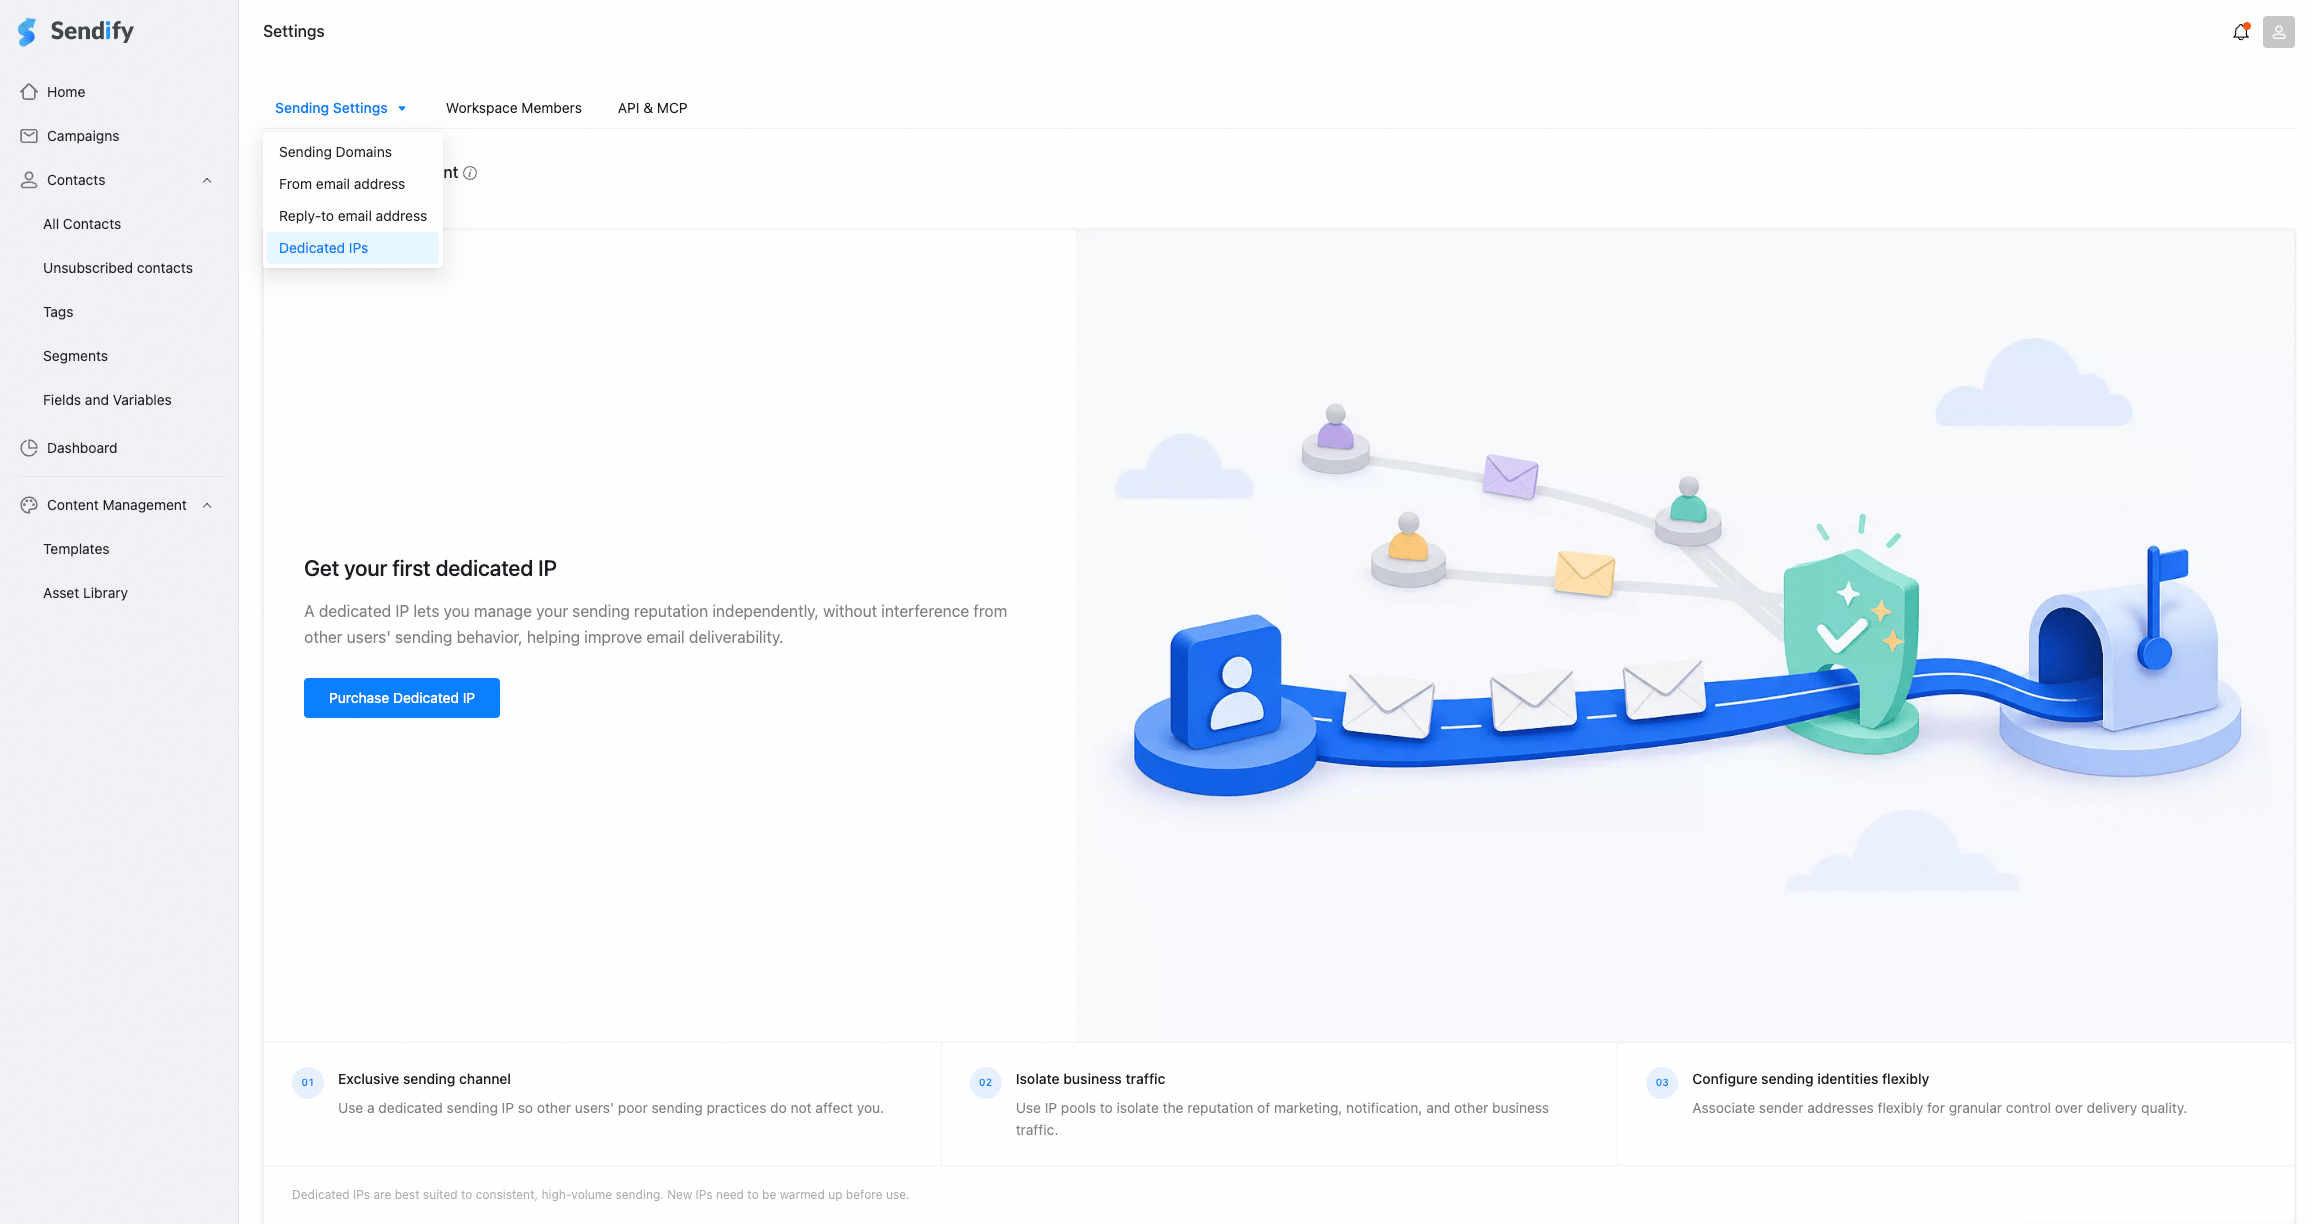
- Purchase dedicated IPs. Click Purchase Dedicated IP, review the available specifications, quantity, subscription term, and price, then complete payment. Available options and prices are shown on the purchase page.
- Create an IP pool. Return to the dedicated IP management page, create a pool, and add your purchased IPs. A pool groups the IPs that your sender addresses can use.
- Associate sender addresses. Associate each sender address with the appropriate pool. Purchasing IPs alone does not configure your sender addresses to use them; you must complete this association.
- Check warm-up settings and start sending. Start with active contacts who have explicitly subscribed, increase volume gradually, and monitor bounces, complaints, and delivery performance.
Frequently asked questions
How many IPs should I purchase?
Consider three questions: Can one IP meet your sending needs? Do different email streams need separate IP reputations? Do you need another dedicated IP available as a backup? Consider starting with one IP if:- You send one type of email, such as subscription marketing for a single brand, and do not need separate IP reputations for different email streams.
- Your sending frequency and volume are relatively stable, and one warmed-up IP can meet your sending window based on actual delivery performance.
- You can accept disruption if that IP becomes unavailable, or accept fallback to shared IPs where enabled and available. You do not require all email to use dedicated IPs at all times.
You can purchase two IPs to support business continuity and redundancy. Teams with one email stream, a stable sending pattern, and no dedicated-IP backup requirement can assess whether one IP is sufficient based on budget and actual performance.
Do not calculate IP count from daily email volume alone. Sending throughout the day places different demands on an IP than sending the same volume in a short burst. A recipient list concentrated at one mailbox provider is also subject to that provider’s receiving policies. Adding IPs does not guarantee a proportional increase in sending speed and must not be used to bypass receiving providers’ limits.
Before purchasing, prepare your recent average daily volume, peak-period volume, required sending window, and recipient distribution across providers such as Gmail and Outlook. The Sendify service team can help assess your needs. Each IP needs consistent traffic to maintain its reputation; too many IPs may spread your traffic too thinly.